


|
StableBit DrivePool 1.X
A state of the art disk pooling application with file duplication.
|
Installing / Upgrading / Uninstalling
(Build 6102)

Installing for the first time is quick and easy.
-
Put the downloaded .wssx file onto a computer that has the Windows connector software installed (or place it on the server).
-
Double click on the file in Windows Explorer.
-
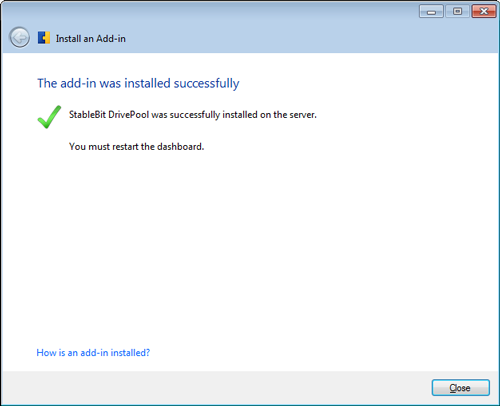
Complete the installation wizard.
-
Restart the Dashboard if it's running.
 |
See the Quick Start section for an overview of how to start using the software. |
|
The 30 day trial of DrivePool is fully functional for 30 days. After 30 days you will no longer be able to create new directories on the pool drive. After the trial expires, you will continue to have full read and write access to all your pooled files, and you will be able to move folders out of the pool. |
Upgrading works just like installing for the first time.
-
Put the new .wssx file onto a computer that has the Windows connector software installed (or place it on the server).
-
Double click on the file in Windows Explorer.
-
Complete the installation wizard.
-
Restart the Server.

If you don't plan to use DrivePool again, make sure to move all your data out of the pool before uninstalling.
-
Open the Dashboard to the Add-ins tab.
-
Select StableBit DrivePool and click Remove the add-in.
-
Restart the server.
|
Because DrivePool uses a kernel file system driver, you should restart the server after uninstalling to completely remove it from memory. |
|
Uninstalling DrivePool does not erase or alter your pooled data in any way. If you've uninstalled with some data on the pool, you can re-install to gain access to your pooled data. |